Buy More, Save More: Get up to 20% off on Alcohol Inks!
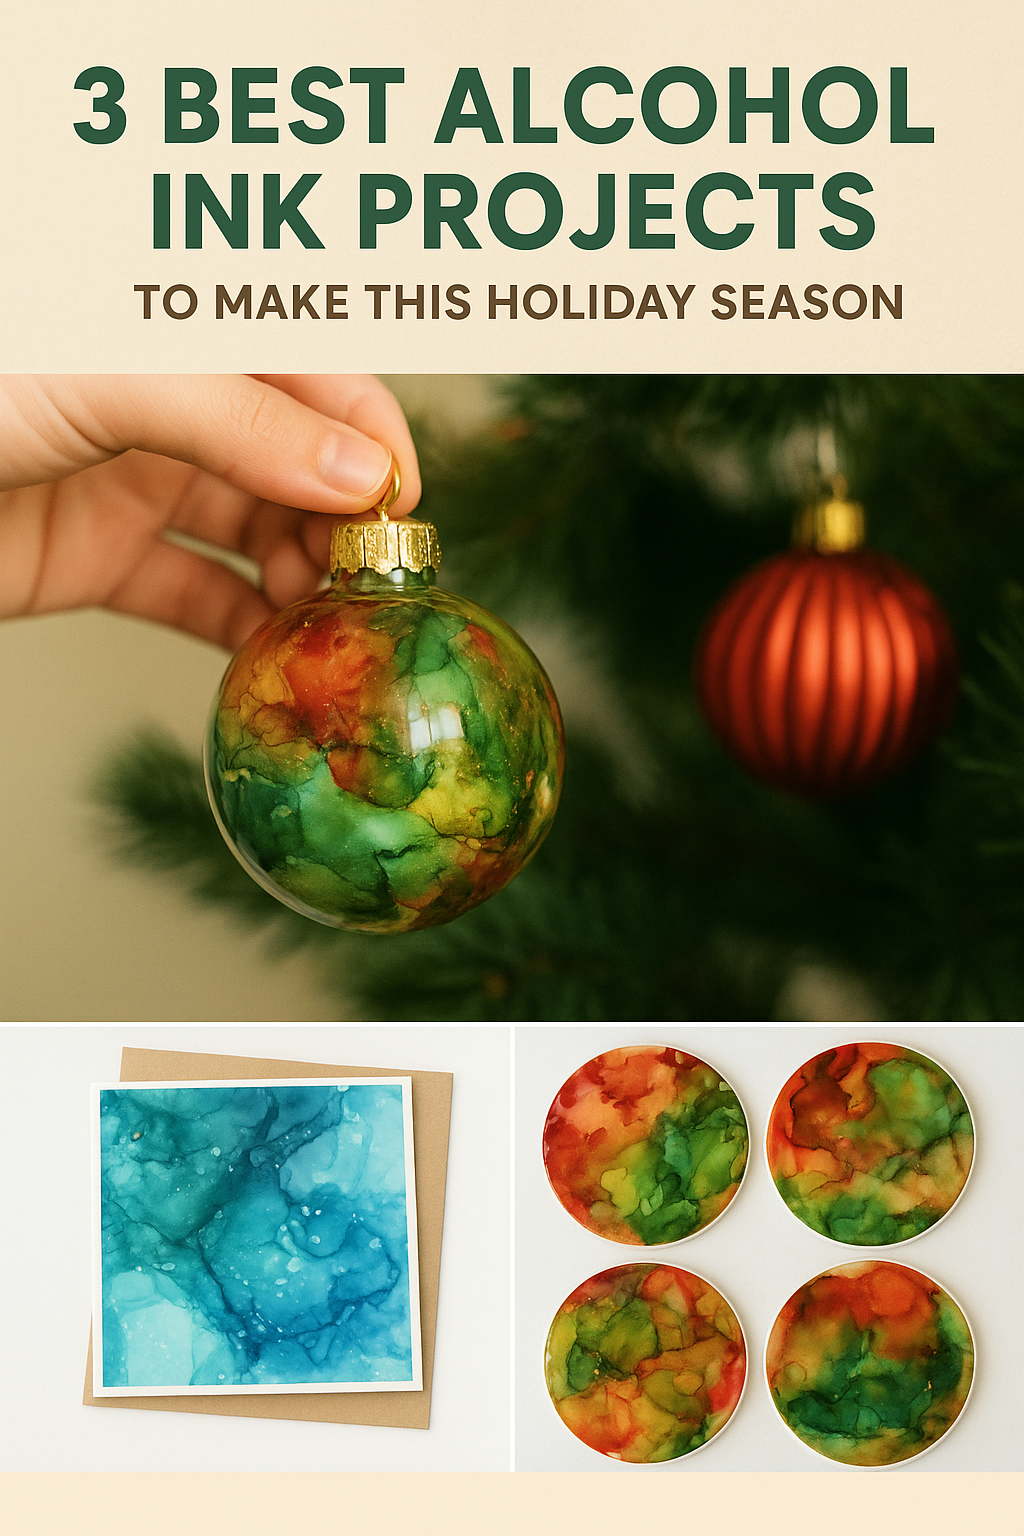
3 Best Alcohol Ink Projects to Make This Holiday Season
Explore three easy and creative holiday alcohol ink projects! Whether you're decorating, gifting, or crafting with family, this guide shows you how to make vibrant ornaments, coasters, and wall art using the Abba Pappa Crafts Alcohol Ink Kit. Follow simple steps, get pro tips, and enjoy the magic of color—no experience needed!
Fedarice Brou
11/21/20253 min read

3 Best Alcohol Ink Projects to Make This Holiday Season
The holiday season is here — which means cozy nights, warm lights, and the perfect excuse to get creative. Whether you're gifting handmade treasures, decorating your home, or planning a fun crafting night with family, alcohol inks are a magical way to bring color and creativity into your holiday traditions.
With the Abba Pappa Crafts Alcohol Ink Kit, you already have every tool you need to create vibrant, one-of-a-kind art pieces. The kit includes:
✨ 8 Vibrant Alcohol Inks
✨ Yupo Paper
✨ Palette
✨ Pipette
✨ Dust Blower
Below are three hand-picked project ideas that are beginner-friendly, incredibly beautiful, and perfect for the holidays. Let’s dive in!
1. Holiday Ornaments (DIY Christmas Baubles)
If you want a craft that’s easy, fast, and produces stunning results, alcohol ink ornaments are your new holiday obsession. These ornaments look luxurious — like something you’d buy at an art boutique — but the process is surprisingly simple. Even kids can help!
What You’ll Need
Abba Pappa Crafts Alcohol Inks
(Holiday favorites: Gold, Silver, Red, Teal, Green)Clear plastic or glass ornaments
Abba Pappa Clear Blender or 91–99% isopropyl alcohol
Latex or nitrile gloves
Paper cups or a drying rack
How to Make Them (Step-by-Step)
Remove the ornament cap and set it aside.
Add 2–4 drops of your chosen ink directly inside the ornament.
Gently swirl the ornament to spread the ink — avoid shaking to prevent bubbles.
Add 1–2 drops of Clear Blender to create soft marbled textures.
For metallic shimmer, add a drop of gold or silver ink and swirl gently again.
Flip the ornament upside down and place it on a paper cup to drain extra ink.
Let it sit upside down for 3–5 hours (or overnight for best results).
Once dry, replace the ornament cap and admire your masterpiece!
Why This Project is a Holiday Favorite
Every ornament turns out completely unique
Perfect for Christmas trees, garlands, or gift baskets
Makes heartfelt handmade gifts for teachers, coworkers, neighbors, and family
Fast, fun, and low-mess — perfect for family crafting nights
2. Festive Alcohol Ink Coasters
Holiday coasters are both practical and beautiful — and they make amazing gifts. Whether you're hosting a holiday dinner or putting together custom gift sets, alcohol ink coasters add a bright artistic touch.
What You’ll Need
Ceramic tiles or blank coasters
Abba Pappa Crafts Alcohol Inks
(Try red, lime green, teal, gold, or cyan for seasonal palettes)Dust blower
Clear Blender
Felt pads for the bottom
Resin topcoat or clear acrylic spray sealer
How to Make Them (Step-by-Step)
Place your ceramic tile on a protected surface.
Add 2–3 drops of ink in random spots.
Use your dust blower to push and swirl the ink into flowing patterns.
Add a drop of Clear Blender to form soft cloud-like blooms.
Continue layering colors, letting each layer dry briefly for extra depth.
Once you're happy with the design, let it dry for at least 1 hour.
Seal the coaster:
Resin gives a glossy, glass-like finish
Spray varnish gives a matte or satin finish
Attach felt pads to the bottom.
Perfect For
Holiday dinner table décor
Personalized gifts (add initials or dates!)
Stocking stuffers
Hostess gifts during holiday gatherings
Small craft fair items
These coasters look professionally made — yet they’re simple enough for beginners.
3. Holiday Greeting Cards on Yupo Paper
Handmade greeting cards are meaningful keepsakes people treasure for years. Alcohol inks make your cards look like fine art prints — vibrant, modern, and incredibly eye-catching.
What You’ll Need
Abba Pappa Crafts Yupo Paper
Abba Pappa Crafts Alcohol Inks
Metallic inks (gold, silver, or white for snowy highlights)
Blank cards or cardstock
Scissors or a paper trimmer
Tape runner or craft glue
Dust blower or pipette
How to Make Them (Step-by-Step)
Lay your Yupo Paper on a protected surface.
Add drops of ink onto the paper — colors like navy, pink, teal, silver, gold, or cyan create a stunning winter palette.
Use the dust blower to push the colors around and form flowing shapes.
Add white or silver ink to create frost-like effects or starry textures.
Allow the design to dry completely (about 15–30 minutes).
Cut the artwork into card-sized rectangles.
Attach to blank cards with glue or a tape runner.
Add optional touches:
Metallic marker borders
Hand-lettered messages
Stickers or embossed accents
Why You’ll Love This
Budget-friendly alternative to expensive store-bought cards
Each card is a unique piece of art
Great for:
Christmas cards
Thank-you notes
Holiday gift tags
Small framed gifts
These cards feel personal, thoughtful, and beautifully handcrafted.
Final Thoughts: Create Magic This Holiday Season
Whether you're crafting ornaments, coasters, or greeting cards, the Abba Pappa Crafts Alcohol Ink Kit gives you everything you need to create bright, meaningful, and truly memorable holiday art. Alcohol inks are beginner-friendly yet incredibly expressive — perfect for both new artists and experienced creators.
So grab your inks, pour a cozy drink, and let the colors flow.
This holiday season is your canvas. 🎨✨